
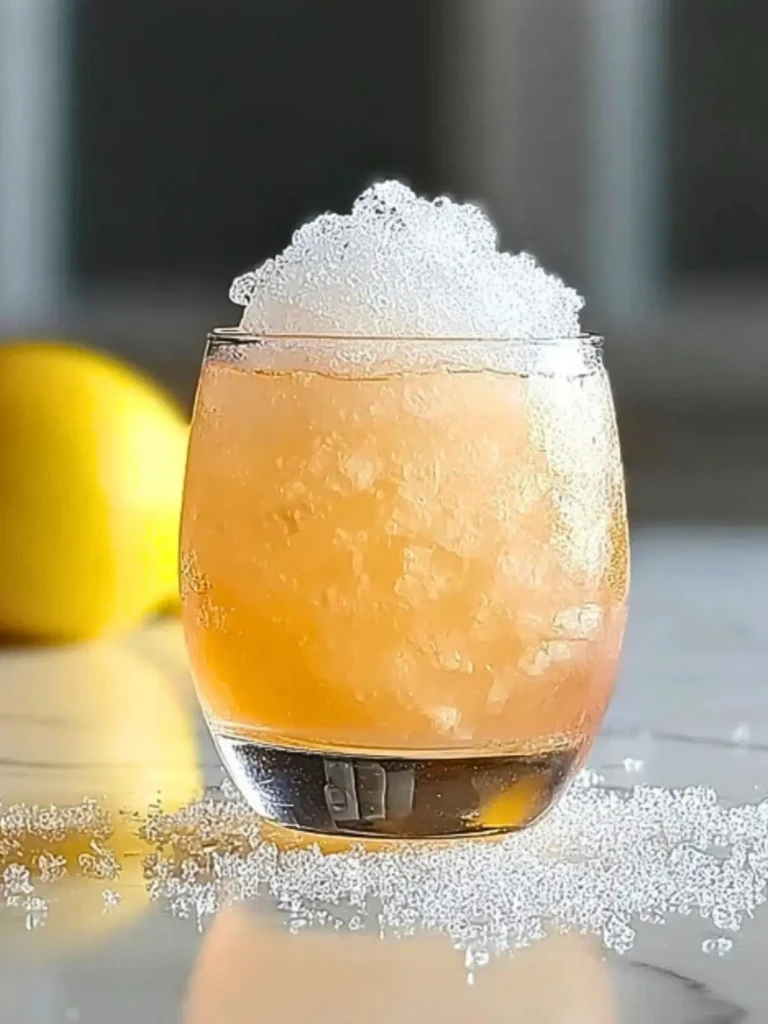
If you’re looking for a fun, slightly shocking science-meets-kitchen moment, the Salt and Ice Trick delivers just that. This isn’t your average recipe — it’s a mind-bending experiment that uses common ingredients to demonstrate how salt drastically lowers the freezing point of ice. The result? A cold sensation that intensifies rapidly, sometimes even to the point of feeling like a burn. It’s both a cool party trick and a visual lesson in chemistry.
Though it’s not something you’d eat or serve at the table, the Salt and Ice Trick has gone viral thanks to social media challenges and YouTube science channels. Whether you’re showing kids how salt affects freezing, or just curious about quirky food chemistry at home, this quick experiment is fascinating, easy to do, and wildly memorable.
Why You’ll Love This Salt And Ice Trick
It’s hands-on, exciting, and unpredictable. You don’t need fancy tools, just two ingredients and a little curiosity. It’s perfect for educators, parents, or anyone wanting to wow their friends with a kitchen-safe experiment. Plus, the visual effect is super satisfying — the way the ice instantly begins to crackle and bond to skin or surfaces is like a magic trick with science behind it.
What Happens When You Add Salt to Ice?
When salt hits ice, it rapidly lowers the freezing point, which causes the ice to melt. But as the ice melts, it absorbs heat from the surroundings (like your skin or a string), creating an intensely cold sensation. This reaction is why it feels like a burn when applied to the skin and why the trick must always be done carefully.
Ingredients for the Salt And Ice Trick
Before we jump in, keep in mind this is a science experiment, not food prep. That said, these simple ingredients are staples in most households and the results are instant.
- Ice Cubes
These are the core of the trick. The colder the better — you’ll want them frozen solid and preferably fresh from the freezer. - Table Salt
Regular salt works best, though rock salt or sea salt can be used too. It triggers the freezing point depression, which causes the chilling effect. - String (Optional)
If you’re doing the trick on a glass or using it to lift ice, string will help demonstrate how salt allows it to “stick.” - Towel or Plate
Helps contain any melt mess and protects the surface you’re working on.

How To Make the Salt And Ice Trick
Step 1: Prepare Your Setup
Place a few ice cubes on a plate or bowl. If you’re lifting the ice with string, lay a piece of string across the top of the cubes.
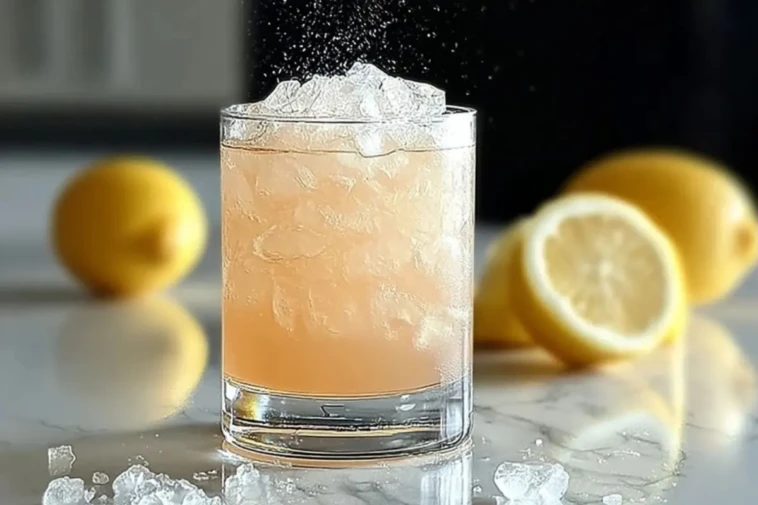
Step 2: Sprinkle the Salt
Generously sprinkle salt over the ice cubes. Focus on the areas where you want the freezing reaction to occur, especially where the string touches.
Step 3: Wait and Watch
Wait about 30 seconds to 1 minute. You’ll notice the ice starting to melt slightly and refreeze around the string or where salt contacts.
Step 4: Lift or Touch
Carefully try to lift the string. It should now be frozen to the ice. If testing on skin (not recommended for long contact), you’ll feel an intense cold almost immediately.
Step 5: Dispose Safely
Let the ice melt in the sink or trash. Avoid touching skin directly with salt-covered ice for extended periods to prevent frostbite-like burns.
How to Serve and Store This “Trick”
While not a food recipe, the Salt and Ice Trick can be “served” as a science demo at parties, classrooms, or just for fun. Since there’s nothing to store or preserve, cleanup is minimal and the experiment can be repeated as needed.
This “recipe” doesn’t feed anyone, but it definitely satisfies curiosity. It’s great for engaging kids aged 8 and up with adult supervision, and a hit with science teachers and DIY lovers.
What to Serve With the Salt And Ice Trick?
Hot Chocolate with Marshmallows
After playing with ice, warm everyone up with a cozy mug of hot cocoa.
Frozen Yogurt Cups
Keep the theme chilly with a sweet treat that doesn’t require baking.
Mini Sliders
Add a savory snack so your science show doubles as a lunch hangout.
Popcorn with Fun Seasonings
Simple, but always a hit — try butter, cinnamon sugar, or cheesy ranch flavors.
Gummy Candy Ice Mold Snacks
Freeze gummies in ice cube trays with juice to keep the science theme going.
Sparkling Lemonade
Refresh your guests with something fizzy and fun while you explain the science.
DIY Fruit Skewers
Let everyone build their own healthy snack in between experiments.
Want More Fun Kitchen Ideas?
If you love quirky ideas that get people talking, you might enjoy these creative recipes too:
• Creamy Beef and Shells Recipe for a comfort food classic with a twist.
• Cheesesteak Tortellini in Rich Provolone Sauce that brings Philly flavor to pasta night.
• Creamy Ground Beef Alfredo Pasta for a quick dinner that tastes gourmet.
• Mushroom Mozzarella Bake with layers of melty, earthy goodness.
• Red Lobster’s Cheese Biscuit Loaf if you’re craving a savory bake packed with flavor.
Save This Trick For Later
📌 Save this fun science kitchen trick to your Pinterest board so you can wow your guests again anytime.
Tried it with rock salt? Did you test the lifting-string version or just touch the ice? Share your stories or photos in the comments.
And if you’re hunting for more fun, food-inspired experiments or sweet ideas, check out my Pinterest page — packed with beautifully curated recipes and health-boosting sips.
Explore more at Mia Recipes on Pinterest.
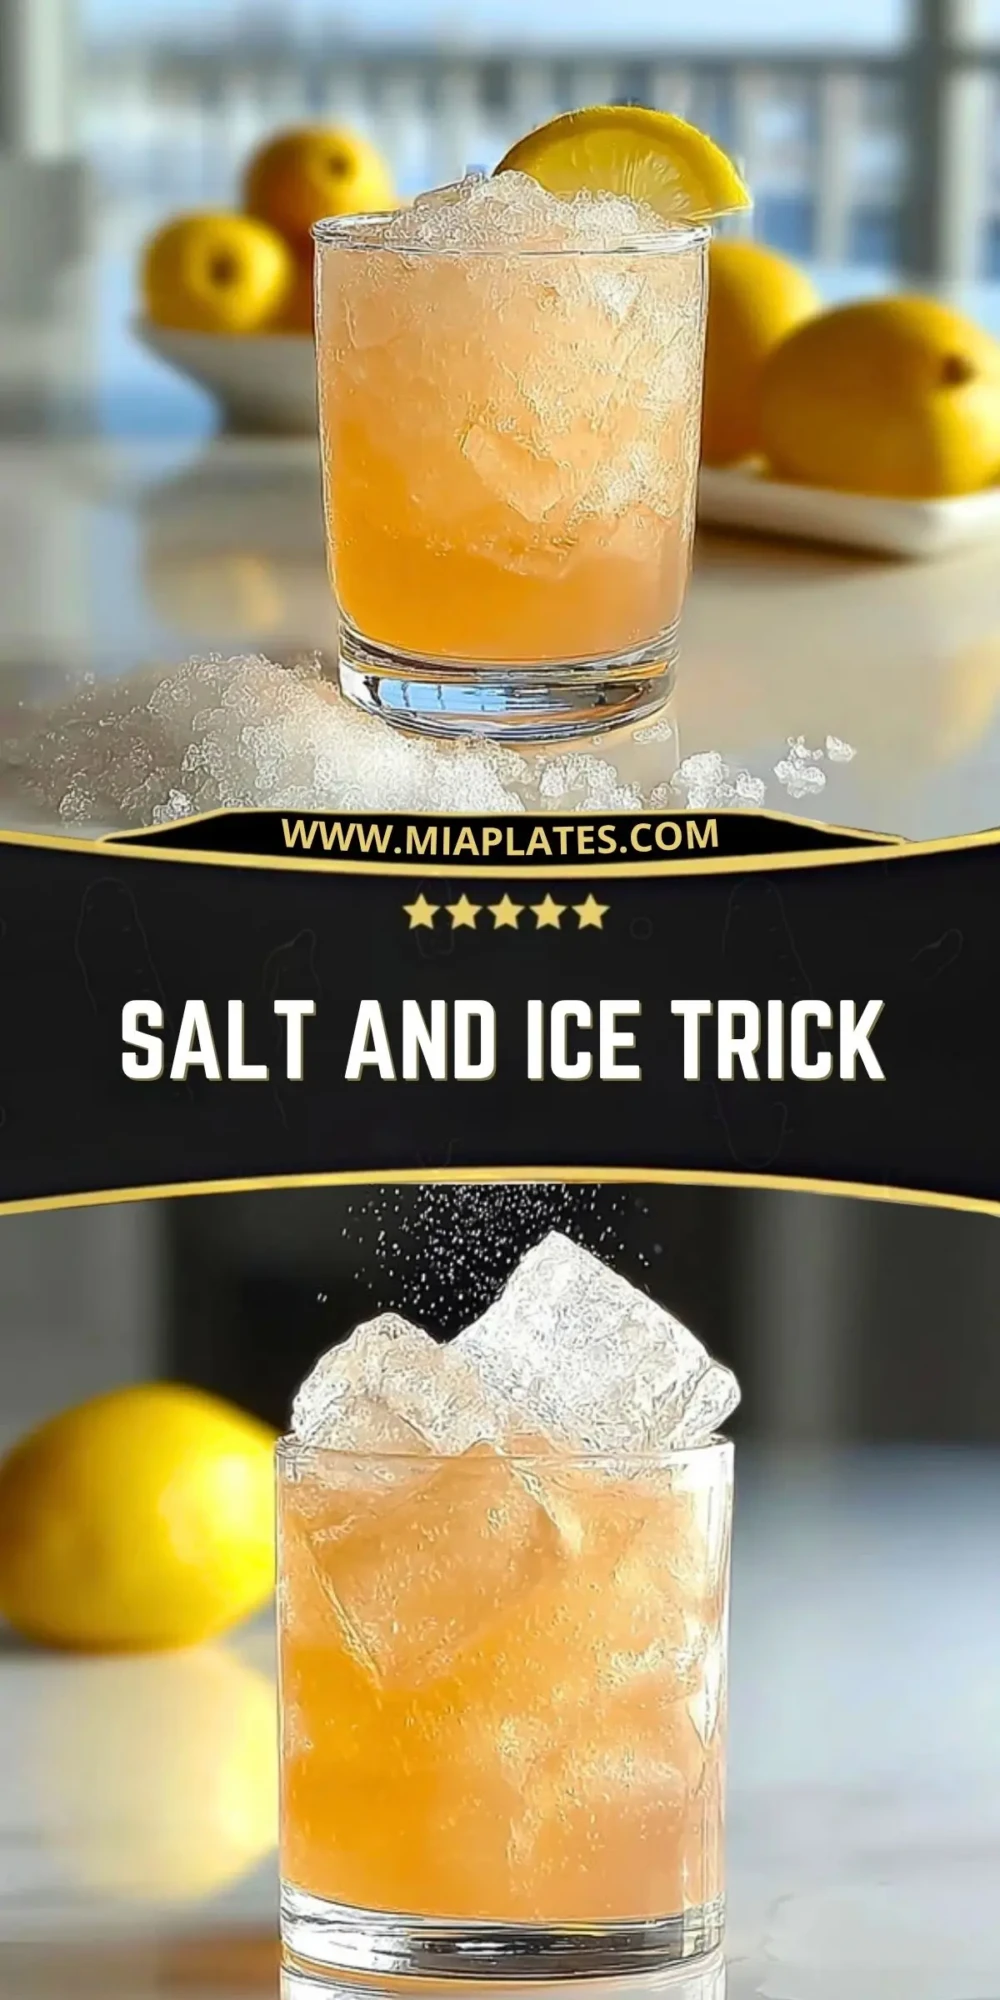

Salt And Ice Trick
- Total Time: 3 minutes
- Yield: 1 experiment
Description
Learn how to perform the salt and ice trick with this fun and educational experiment. Discover how salt lowers the freezing point of ice and creates a dramatic reaction. This kitchen science activity is perfect for kids, parties, or classroom demos. Includes step-by-step instructions and safety notes. Main keyword: salt and ice trick.
Ingredients
2 cups ice cubes
2 tablespoons table salt
1 piece string (optional)
1 plate or towel
Instructions
1. Place a few ice cubes on a plate or bowl.
2. If using string, lay it across the top of the ice cubes.
3. Sprinkle salt generously over the ice, especially over the string.
4. Wait 30 seconds to 1 minute for the reaction to happen.
5. Gently pull the string to see it lift the ice.
6. If touching, feel the intense cold and observe the ice’s response.
7. Dispose of the ice safely once finished.
Notes
This is not a recipe for eating, but a fun science activity.
Never leave salt and ice on skin for more than a few seconds.
Use adult supervision when trying this with children.
- Prep Time: 2 minutes
- Cook Time: 1 minute
- Category: Science Activity
- Method: Demonstration
- Cuisine: Educational
Nutrition
- Serving Size: Not applicable
- Calories: 0
- Sugar: 0g
- Sodium: 4676mg
- Fat: 0g
- Saturated Fat: 0g
- Unsaturated Fat: 0g
- Trans Fat: 0g
- Carbohydrates: 0g
- Fiber: 0g
- Protein: 0g
- Cholesterol: 0mg
