
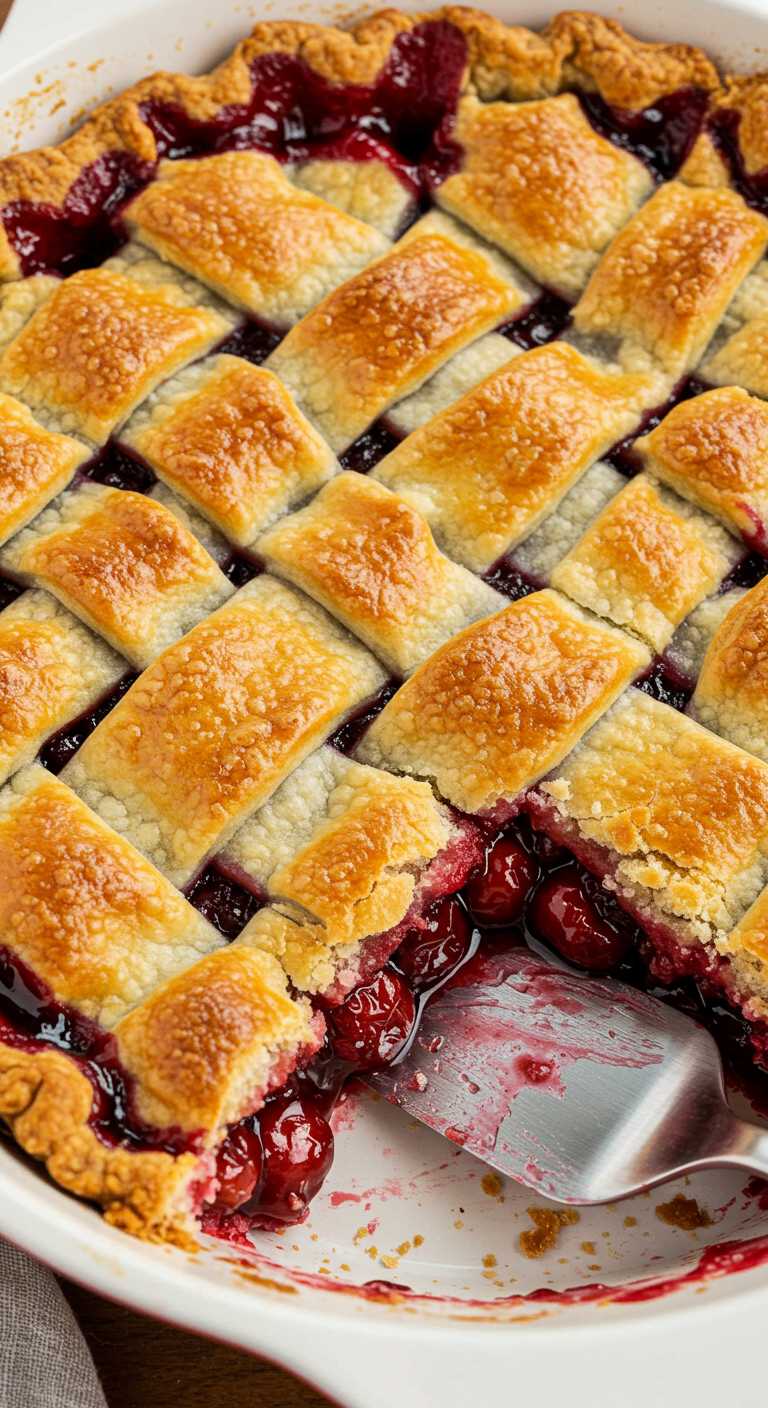

Let me tell you, this Hillbilly Pie is a true gem born from humble ingredients and heartfelt memories. I’ve been baking this pie for years, especially when I need a comforting dessert that brings everyone to the table with smiles. The golden, flaky crust gives way to a rich, gooey berry filling that somehow feels both rustic and luxurious all at once. It’s got that old-fashioned charm that instantly transports you to a cozy kitchen on a lazy Sunday afternoon.
I remember the first time I made this pie. I was trying to come up with something satisfying with what I had on hand—just some basic pantry staples and a can of fruit. What came out of the oven that day was unexpectedly magical. The crust bubbled and browned perfectly, and the filling was thick, syrupy, and bursting with flavor. Since then, it’s become a go-to for potlucks, family gatherings, and even just an indulgent solo treat with a scoop of vanilla ice cream on top.
The best part is how easily customizable it is. Whether I use canned cherries, peaches, or mixed berries, the end result always hits the sweet spot. And the name? “Poor Man’s Pie” might sound modest, but this dessert delivers big in flavor and nostalgia. It reminds me that sometimes the simplest ingredients make for the most treasured recipes.


Why You’ll Love This Hillbilly Pie
This pie is more than a dessert—it’s a warm hug on a plate. You’ll love how little effort it takes to create something so delightful. With just a few ingredients and no fancy tools, it’s approachable for even the most novice baker. The filling is sweet, sticky, and fruity, while the top crust bakes up buttery and crisp with golden edges that practically beg to be broken into.
Plus, it’s incredibly versatile. You can swap the filling depending on what you have at home or what’s in season. This makes it a perfect recipe for clearing out the pantry or adapting to your cravings. If you love this kind of cozy, fruit-forward dessert, you might also enjoy my Old Time Oven Peach Cobbler or the Ooey Gooey Bars that are just as rich and satisfying.
Trust me—once you make this Hillbilly Pie, you’ll be looking for any excuse to bake it again.
How to Make Hillbilly Pie
Step 1: Prepare the Ingredients
Start by gathering your essentials. You’ll need one can of fruit pie filling (cherry, blackberry, or peach are all excellent), one cup of sugar, one cup of milk, one cup of self-rising flour, and a stick of butter. If you don’t have self-rising flour, you can make your own by mixing one cup of all-purpose flour with 1 1/2 teaspoons of baking powder and 1/4 teaspoon of salt.
Step 2: Melt the Butter
Preheat your oven to 350°F (175°C). Place the stick of butter in your baking dish (usually an 8×8 or 9×9 inch pan works great) and let it melt completely in the oven. This step is essential as it creates the rich, golden crust we love.
Step 3: Mix the Batter
While the butter melts, combine the flour, sugar, and milk in a mixing bowl. Stir until just blended—no need to overmix. The batter should be smooth but not runny.
Step 4: Assemble the Pie
Once the butter is melted, pour the batter right over it in the baking dish. Do not stir. Then spoon the pie filling evenly across the top of the batter. Again, don’t mix. The magic of this pie is in the layering—as it bakes, the batter rises up around the fruit.
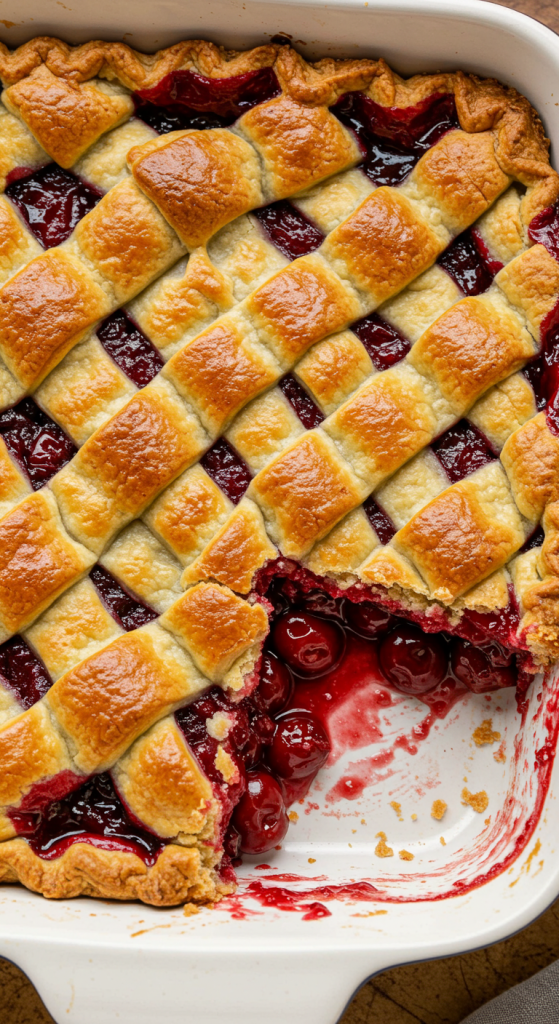
Step 5: Bake
Place the dish in the oven and bake for about 45-50 minutes or until the top is beautifully golden brown and a toothpick inserted into the batter comes out clean.
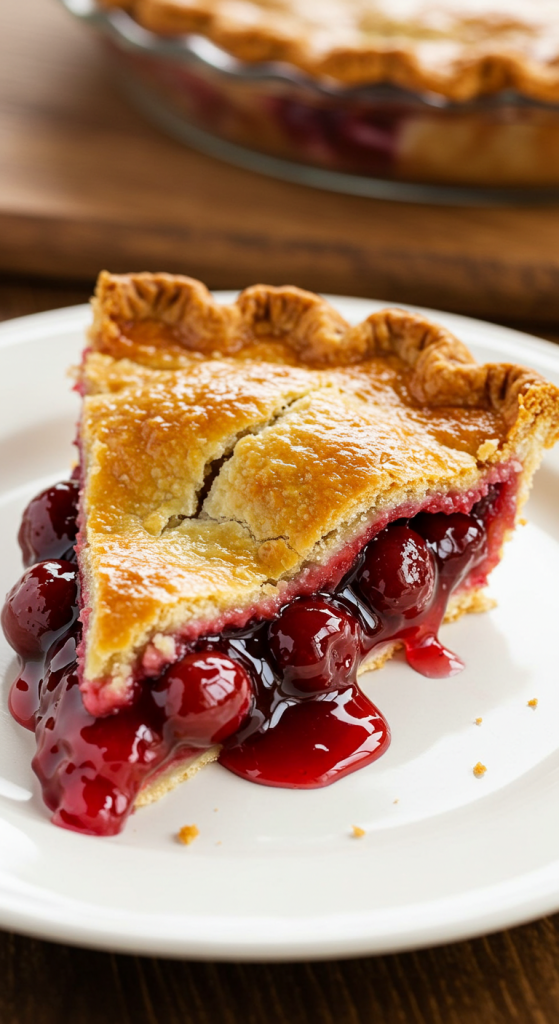
Step 6: Cool and Serve
Let the pie cool slightly before digging in. It’s best served warm, maybe with a scoop of ice cream or a dollop of whipped cream.
Recipe Variations and Possible Substitutions
Hillbilly Pie is perfect for getting creative. You can swap the fruit filling with any pie-ready fruit you like—apple, blueberry, or even strawberry-rhubarb work beautifully. If you want it less sweet, reduce the sugar to 3/4 cup or use a low-sugar fruit filling.
Want a flavor twist? Add a teaspoon of vanilla extract or a pinch of cinnamon to the batter. You can also toss some chopped nuts or coconut on top before baking for added texture.
For a dairy-free version, substitute the butter with plant-based margarine and use your favorite non-dairy milk like almond or oat. The result is still rich and comforting, just a little more tailored to your dietary needs.
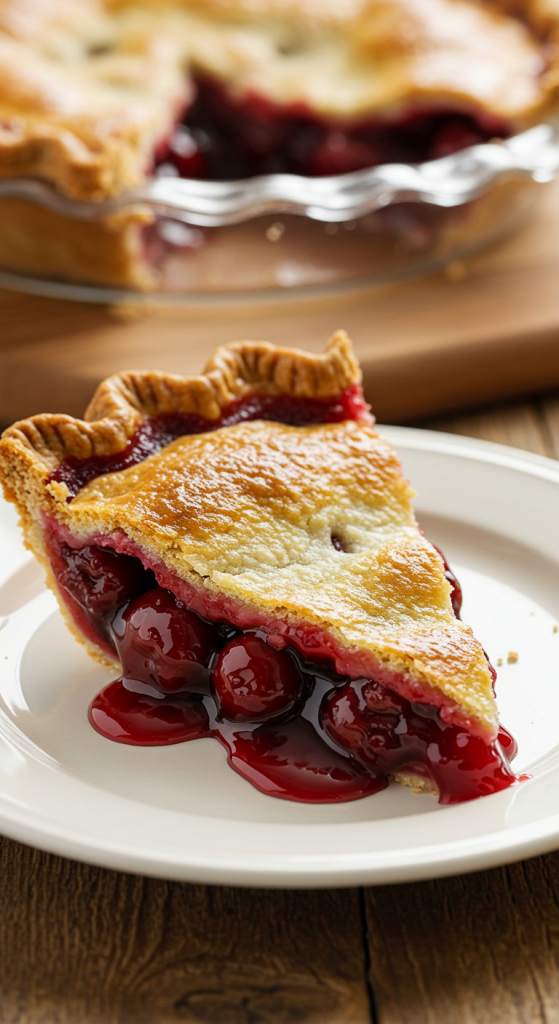
Serving and Pairing Suggestions
Hillbilly Pie shines on its own, but the right pairing can take it to the next level. I like to serve it while it’s still slightly warm with a scoop of vanilla bean ice cream—the contrast between the cold creaminess and the warm, syrupy pie is downright dreamy. On chilly evenings, a dollop of whipped cream or a drizzle of heavy cream is equally satisfying.
For a little southern flair, try serving it with sweet tea or a hot mug of cinnamon-spiced coffee. If you’re feeling indulgent, a small splash of bourbon cream over the top adds a rich, adult twist that’s perfect for dinner parties.
It also makes a lovely companion to savory meals. I’ve brought it to potlucks where it followed dishes like fried chicken, baked ham, or even meatloaf. It balances those savory flavors with just the right amount of sugar and nostalgia.
Storage and Reheating Tips
If you have leftovers (which doesn’t happen often in my house!), store the pie covered in the fridge. It will stay fresh for up to 4 days. For best results, place a layer of plastic wrap over the top before sealing it with foil or a lid to keep the crust from drying out.
To reheat, pop a slice into the microwave for 30 to 45 seconds. You can also warm it in a 300°F oven for about 10 minutes, which helps to re-crisp the top.
Frequently Asked Questions
What kind of fruit filling works best for Hillbilly Pie?
Cherry and blackberry are my top picks, but really any pie filling works. You can even mix two flavors for a unique twist.
Can I use fresh fruit instead of canned pie filling?
Yes, but you’ll need to cook the fruit down with some sugar and a bit of cornstarch first to get the right consistency.
Is it necessary to use self-rising flour?
Self-rising flour helps the batter puff up beautifully. If you don’t have any, just add 1 1/2 teaspoons of baking powder and 1/4 teaspoon of salt to a cup of all-purpose flour.
Can I make Hillbilly Pie in advance?
Definitely. You can bake it a day ahead and reheat just before serving. It actually tastes even better the next day as the flavors meld together.
What size baking dish should I use?
An 8×8 or 9×9 inch dish is ideal. You can also use a deep-dish pie plate. Just be sure it’s oven-safe and has enough room for the batter to rise.
Related Recipe You’ll Like
If you fell in love with the gooey sweetness and golden crust of Hillbilly Pie, then you need to check out a few more dessert favorites on my site. The Old Time Oven Peach Cobbler is a must-try, especially if you’re into fruit-filled baked goods with a nostalgic touch. It has that same comforting, from-scratch vibe and is a hit at any gathering.
Another top pick is my Ooey Gooey Bars. They’re soft, sticky, and absolutely decadent—ideal for when you’re craving something rich but easy to whip up. And if you’re leaning toward something slightly more tropical, the Mini Cinnamon Roll Cheesecakes are just the ticket.
With all these treats in your baking rotation, you’ll always have something special to share (or keep all to yourself).
Save and Share This Recipe for Later
Don’t let this gem slip away! Be sure to pin this Hillbilly Pie recipe to your favorite dessert board on Pinterest so you can find it whenever a craving hits. Sharing is caring, so pass this along to friends and family—email it, text it, or post it on your socials. It’s the kind of recipe that sparks conversation, stories, and second servings.
Whether you’re prepping for a family dinner or just want something sweet after a long day, this pie has your back. Let others in on the goodness!
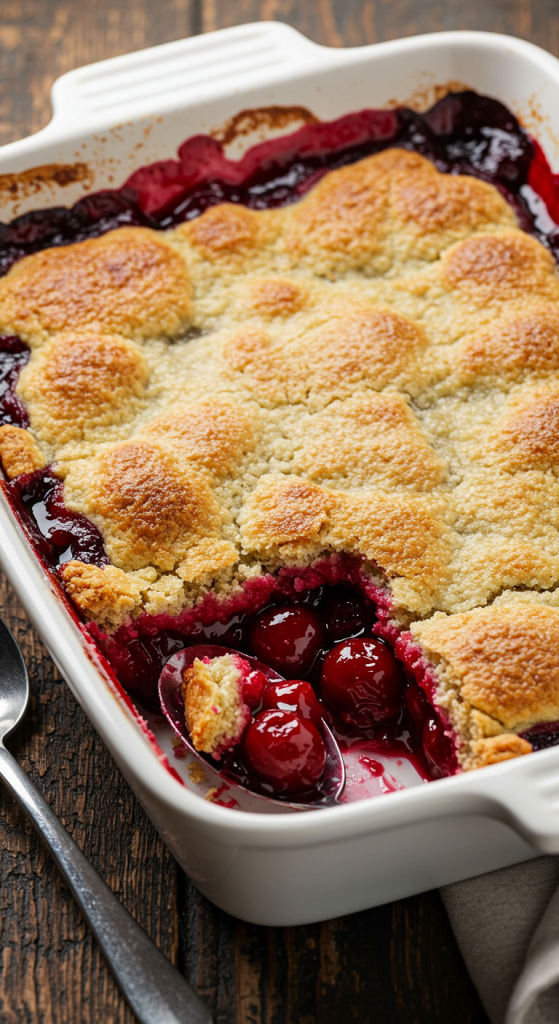
Hillbilly Pie (Poor Man's Pie)

Hillbilly Pie, also known as Poor Man's Pie, is a simple and comforting Southern dessert made with pantry staples and a can of fruit pie filling. Baked to golden perfection, it features a rich, buttery batter that rises around the sweet, syrupy filling as it bakes. With its crispy edges and gooey center, this no-fuss pie is a nostalgic favorite that tastes like home. Ideal for potlucks, weeknight treats, or cozy gatherings, this easy dump-and-bake dessert can be made with cherry, peach, or any fruit you have on hand.
Ingredients
- 1 stick (1/2 cup) butter
- 1 cup self-rising flour (or 1 cup all-purpose flour + 1 1/2 tsp baking powder + 1/4 tsp salt)
- 1 cup granulated sugar
- 1 cup milk
- 1 can (about 21 oz) fruit pie filling (cherry, peach, or your choice)
Instructions
- Preheat oven to 350°F (175°C).
- Place butter in an 8x8 or 9x9 inch baking dish and melt in the oven.
- In a mixing bowl, combine flour, sugar, and milk. Mix until just combined.
- Pour the batter over the melted butter in the dish. Do not stir.
- Spoon the fruit pie filling evenly over the batter. Again, do not mix.
- Bake for 45-50 minutes or until the top is golden brown and a toothpick inserted comes out clean.
- Let cool for about 10 minutes before serving. Enjoy warm with ice cream or whipped cream.
Notes
- You can use any pie filling you like—apple, blueberry, or mixed berry are all delicious.
- Add a teaspoon of vanilla extract or cinnamon for extra flavor.
- Store leftovers in the fridge for up to 4 days and reheat in the microwave or oven.
- For a dairy-free version, use plant-based butter and non-dairy milk like almond or oat.